vrijdag 22 mei 2020

Fail, fail & fail: Outboard modification for improved reverse thrust.

My yamaha outboard has an exhaust port straight above the propellor. Because of this [or so I thought] , reverse thrust is miserable, and I had some really nasty situations not being able to stop/maneuver the boat in strong winds.

I first tried tot block the outlet with some foam and drilled two outlet ports about 10 cm higher.


Unfortunately this was a bit too simple to be KISS. Reverse thrust was great but in forward I had lots of ventilation  problems because of the exhaust gasses being sucked to the propellor. I just lost way too much forward thrust.

I tried to overcome this with an extended cavitation plate.


But..... unfortunately this didn't work either.

Searching the internet I found an over 30 year old (!!!)  boatingmagazine article by Jan Alkema (a fellow dutchman!) about exactly the same problem. His trick is to redirect/'bend' the exhaust gases upward instead of downward to the propellor with a simple tunnel made of some metal plate.

I made this tunnel with polyester molded over the outboard leg (polyester is terrible to work with, but the good thing is it hardens quickly enough to release the molded part within the hour and take it home).


 With the molded part and some wood and tape I made a mold for the whole tunnel.


Molded part laminated with epoxy/glass and some plastic on top to press all the glass together without getting too messy.


 No it is not pretty, I don't care as long as it works.


Below: part bolted to the cavitation plate. I covered the holes with some ducktape, and will cover them permanently with some glasstape with polyester wrapped around the leg. Polyester shrinks a lot and will thus result in nice tight fitting band.
First impression: better reverse thrust and so far I noticed no ventilation problems forward. Only exception: going from full throttle reverse to full throttle forward the prop wouldn't bite immediately. I can live with that and leave the setup as it is.

Should have done this years ago.......

I thought...... but ........


After a sail a few days ago with lots of wind I had big problems with forward thrust so I removed the modification.
After some googling I noticed on sailing-forums that lots of other people with exactly my outboard (the yamaha 6 hp F6C four stroke) complain about terrible reverse power and are talking about fitting a 'high thrust' propeller (with bigger blades and lower pitch). So I've probably been working in the wrong direction, and should have started with another propeller (as someone also noted in the comments on this post).
I found a shop that sells a 'yamaha double thrust' propeller that according to the shop fits my outboard (although it seems to be designed for Yamaha outboards with a through-prop exhaust which my outboard doesn't have) and will give higher thrust.
I wil try it and else I will dump my outboard which I'm starting to hate, and buy one of the sailpower outboards of mercury or tohatsu that 'according to internet' - in contrast to the standard Yamaha F6C - work for sailboats.

donderdag 6 juni 2019

antifouling / finsulate

Lots of problems with fouling in the salt water of Grevelingenmeer in the Netherlands. I have tried a new anti-fouling product: finsulate. It's basically a sticker wrap with fibres (bit lik a carpet) which should prevent plants and animals to stick to the hull.

First: put the boat on blocks. To do this I unfold the boat on the trailer (put smallish wheels on the trailer so the floats clear the wheels while unfolding). I wedge a piece of timber at the top of the cabin entrance to minimise flex. Then I jack up the (axle of the) trailer on two sides about 30 cm, put blocks under the floats, lower the trailer and pull the trailer away.

Next: removing old antifouling and epoxy priming. Then wrapping it with finsulate (the dark carpetish-stuff in the photo below).
Unfortunately, at the end of the season it was apparent the finsulate - or at least the 'speed' version with short fibres I used - was not working for my situation, lots of growth made sailing impossible.


So, boat back on stands to remove the finsulate. Tried all kinds of methods to do this the easy way, but nothing worked. I had to cut it loose bit by bit with a window scraper (the kind with a Stanleyknive blade). What a pain in the....

This time i invested in four foldable welding stands to support the boat. I wish I had done this earlier, this works great. Putting the boat on these stands takes me single handed no more than 20 minutes, taking it easy.


Now the boat is again painted with self polishing antifouling paint. In the Netherlands it has been decided proper working antifoulings with high copper ratios may only be used for commercial ships, not for recreational ships.
This has led to lots of people selling&buying commercial antifouling paint under the counter, or buying it in our neighbour countries (Germany and Belgium) where it is legally available for recreational craft. Other people try to enhance the antifouling properties of the recreational paint by adding copperpowder.
Maybe the effects of banning these paints without a working alternative people can switch to are worse than the intended positive (enironmental) effects.

Next: modification outboard engine exhaust for better reverse stopping power.

woensdag 27 juni 2018

Boat trailer extension bar

After having my car sliding from a slippery ramp half into the water I thought it was time to make a trailer extension to be able to get only the trailer and not the car in the water.
It's put together with some galvanized steel square tube and an extra trailer hitch ball.

The extension has a reces at the far end which slides over a bolt in the tongue-assembly (the bolt is the rusty bolt near the parking-brake-lever). The extension bar locks on the ball by just lifting up the car-end of the extension.


To carry the extension there is a ball on the trailer and a u-frame on the first crossbar: the back end of the extension lies in the u-frame and the front end is fixed by clicking it on the ball.


It works, although I always find the forces on this kind of equipment a bit daunting. Especially when the trailer is half way in the water and the back of the boat is already floating, the forces on the front end of the trailer which carry the rest of the weight of the boat must be quite high.

Next: antifouling with finsulate wrap.

donderdag 7 juni 2018

Square top mainsail - top batten trick

Until recently I always had to put in or remove the top batten of the mainsail when hoisting and dropping the mainsail. On internet I found a very easy solution to keep the batten in the sail.
The trick is to not fix the top of the sail permanently to the top slider, but to make a tackle with dyneema with one end fixed to one of the lower sliders. Pictures are probably better than words, so....
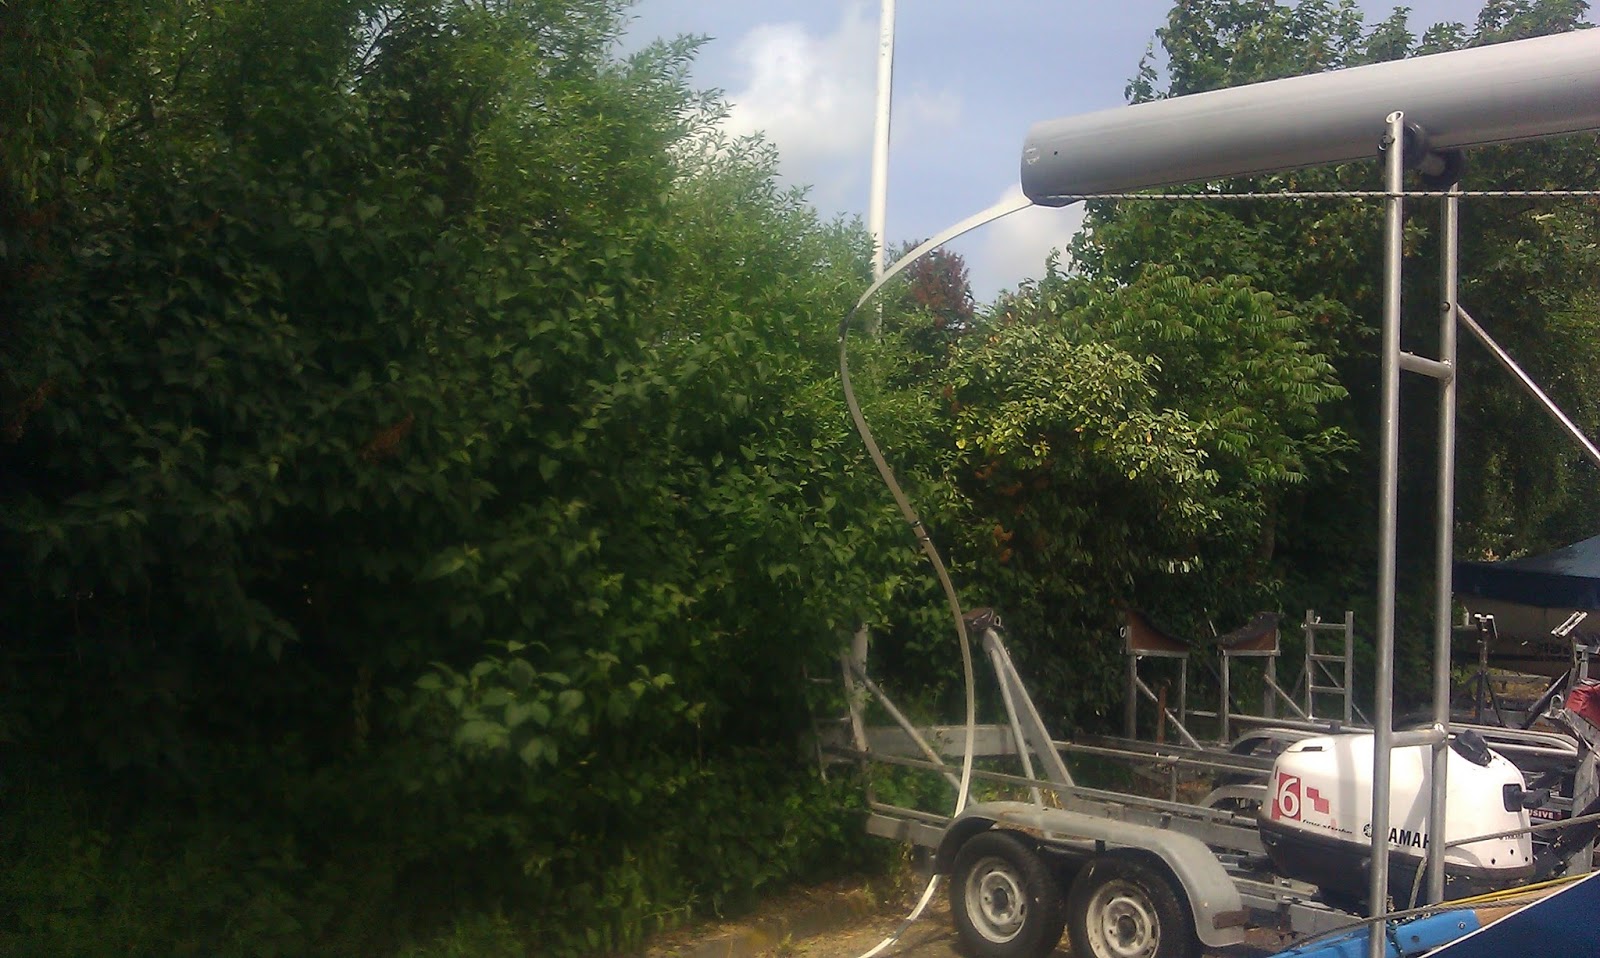


Once the mainsail is raised and the distance between the lower sliders and the topslider increases, the tackle is tensioned and the top of the sail is fixed to the topslider.
sail down
starting the hoist: lo and behold it works


Tackle is tightening and will be tight with sail hoisted about two meters.

First I had doubts it would work, but at least for my size of sail it does.
The dyneema rope is slippery enough to not get stuck and the topslider doesn't get stuck either.


By the way: the top block on the mainsail is a climbing block: very strong, light and durable and way cheaper than sailing-blocks.


Next post: trailer-extension

vrijdag 1 juni 2018

New anti-torsion cable - PERFECT!


The standard anti-torsion rope on my jib has never impressed me much. Especially with a lot of wind, when you need it to work, it doesn't. The top of the jib would not furl because the line was not stiff enough (and probably because there is relatively little tension on the anti-torsion line compared to fixed mast-boats).


Old anti-torsion Rope


I replaced the line with Harken Reflex anti torsion rope. This rope is a normal anti-torsion rope but with a braided stainless steel cover round that rope. What a difference! I am usually a bit sceptical about claims of new products, but this works perfect for my setup.


Harken Reflex Rope
The rope can be bought with expensive end-terminals, but I made them very cheap with aluminium press-sleeves, just for the fun of trying to replace some stuff with diy-parts.

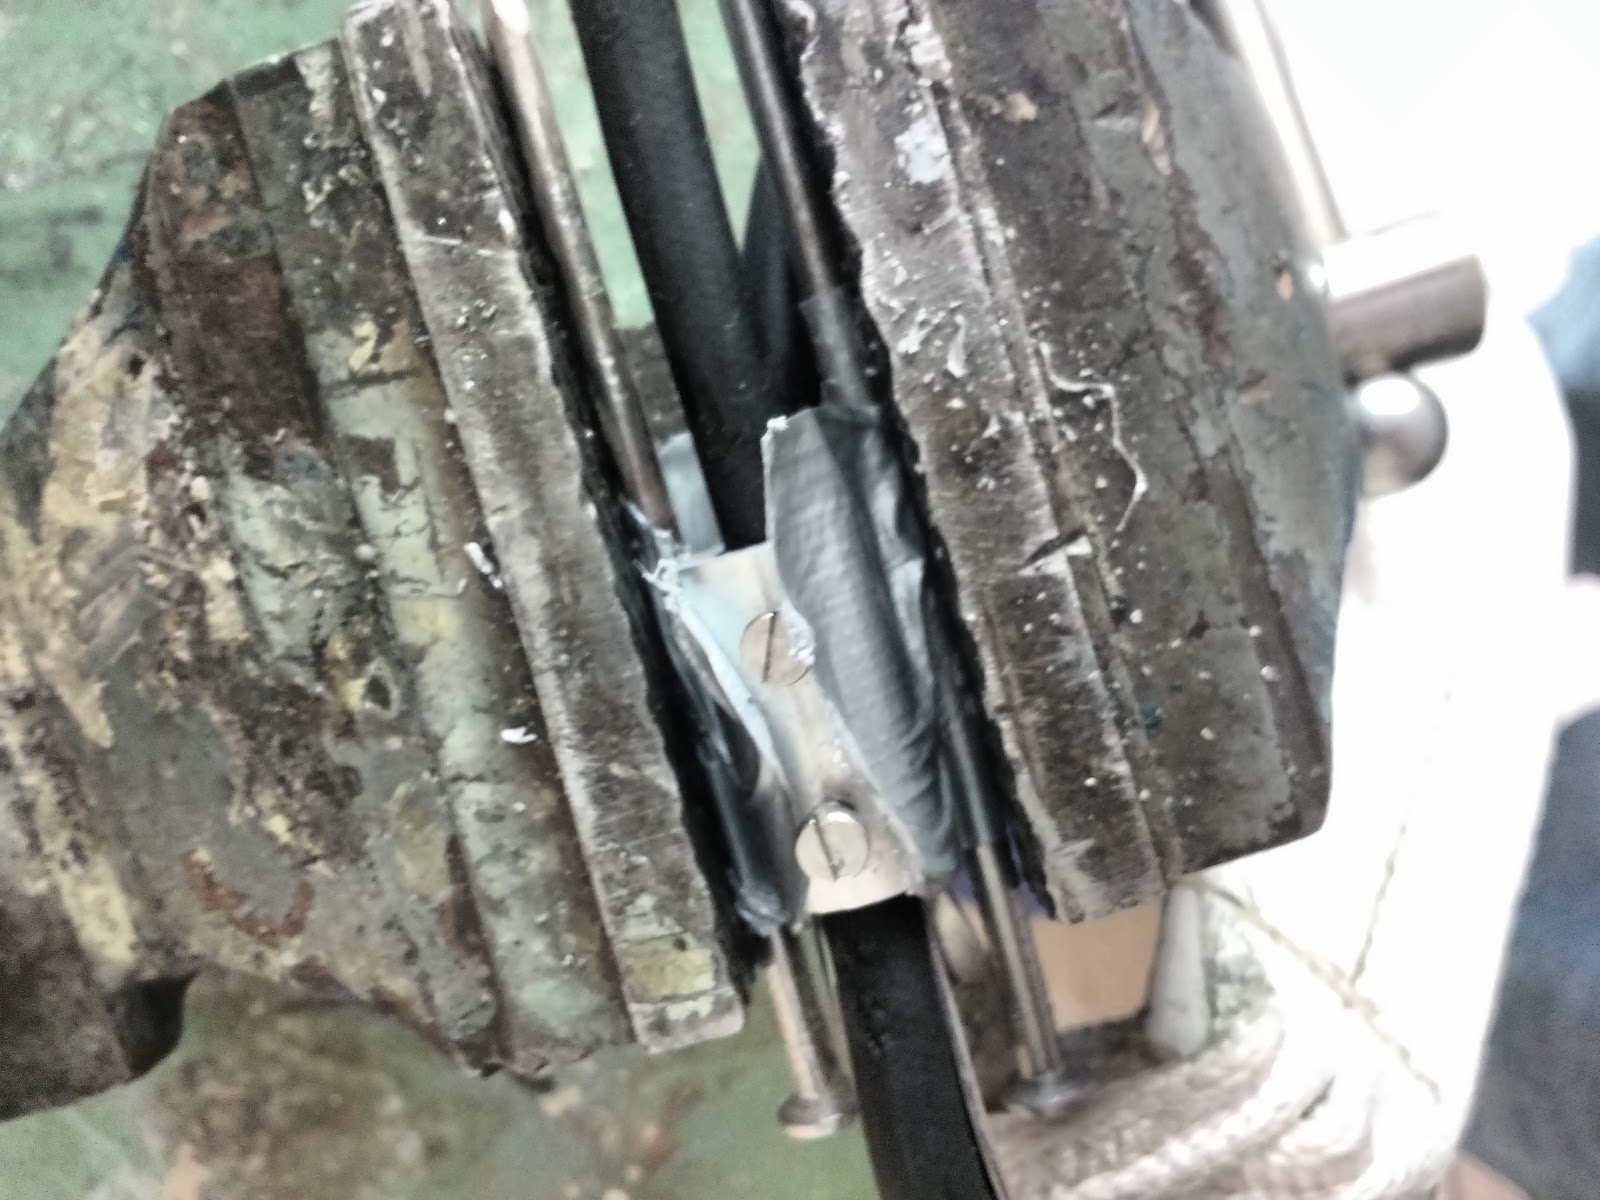
Here is a test-piece with a normal alu press-sleeve I used:
 

Unlike the official terminals it is a permanent fix: to remove the sleeve it has to be carefully cut into multiple pieces:

For extra security i tapped some m5 machine screws into the press sleeve to further lock the cable, but in hindsight this is overkill.


My cheap trick to press the sleeves, step 1: put sleeve in a vice with to big steel nails as 'press die' to (pre)form the sleeve.


My cheap trick to press the sleeves, step 2: use some threaded rod, some steel bar, a small hydraulic jack and again a steel nail to get some real pressure on the the already preformed sleeve:


Next post: mainsail top batten-tackle....


donderdag 8 juni 2017

Bow nets


I bought some regular dyneema SK75 and at a fisheries-supply- shop a 'netting needle'....


(I removed this image because unfortunately it is not possible anymore to show a small picture made by someone else on your hobby blog without running the risk of getting harrassed by claim-hyena-lawfirms for 'copyright infringment')

.... to knot my own bow nets.

I extended the nets a bit by using the all purpose-eye on the float to support the net. 


Knotting the nets was good fun. I use the nets to store fenders, to attach the front mooring-line, and as some extra security while moving on the boat. Plus my children and wife like to use them to hang out while sailing in calm conditions.


maandag 22 mei 2017

floating hull scrubber

After my last post I dit some work on the boat and the trailer but my Phone with the pictures crashed. I will make some pictures of the trailer shortly and put them on my blog.

In the meantime:

My anti  fouling is not up to the task of keeping the bottem clean enough. As an alternative to getting the boat out of the water and on stands to clean the bottom (can't do it on the trailer because I made the 'farrier-style' fitting tub on the trailer so most of the bottom is not in reach while on the trailer) I made a 'floating scrubber' with some pvc pipe, wood and a piece of doormat. 

I didn't try to build it to last a long time, only to see if this idea would work.


The idea is the bend stick allows you to reach the whole bottom with the scrubber, while the buoyancy provides enough force to effectively scrub the bottom.


I used the scrubber while sitting in a small inflatable boat and it worked quite well. The scrubber was a bit too bouyant; I'll make another version with a bit smaller piece of PVC pipe and that will probably become my scrubber for the coming years.

Unfortunately it didn't get all of the fouling off, which was not a big surprise. The boat has been in salt water for over two years now. End of season I will get the boat out, do a very thorough cleaning and anti-fouling. After that I will use the scrubber as an extra to keep the bottom tidy.

Next post: bow nets.

vrijdag 1 mei 2015

New tiller

The way the rudder cassette on the F22 is designed is probably optimised for a boom-ed mainsail with the traveler in the middle of the cockpit. 
With a boomless main the traveller is at the end of the cockpit, and a straight tiller is sticking too much 'up' to pass under the traveller. 

I fixed this by shortening the tiller just as much as not to go before the traveller. It works ok, but I'd rather have a bit longer tiller. So....

I made a 'frankenstein-mock up' of a tiller with enough bends to move under the traveller with enough space to make sure the main sheet won't interfere too much with the tiller.

Frankenstein mock up attached to the original short tiller.
Used the mock up to drwaw the outline of the new tiller on a piece of board and glued a foam blank...


I used FEM analysis to calculate the thickness of carbon UD -sure... but only in my dreams. In reality I just put some tapered carbon UD leftovers on top and bottom of tiller and will see if it works. Tiller will subsequently be wrapped in some 200 gr glass tape.

I have never managed to find a good way to laminate/wrap round objects/parts. This time I laminated the tiller and pressed the laminate by wrapping it in pieces of plastic and securing this by wrapping the whole tiller with paint-tape. it worked (no bubbles) but the laminate was quite rough/uneven.

'bagging' with pieces of plastic and paint-tape.
A tip I won't stop to repeat because it was such an eye-opener for me: use tile-cutting blades in a jigsaw or even better on a 'multimaster' type of saw to cut fiberglass. Blades last forever and hardly any mess and itching glassdust.
getting ready...

less than 30 seconds later it's finished
Below the old and the new tiller. The new tiller is quite long, I hope it can withstand up-down forces if someone accidentally falls on it because it is a quite hefty lever.

Using expensive and heavy joysticks on the F22 is a waste of money in my opinion. Cheapo grey pvc elektricity pipe works great: it's light, a bit flexible and most importantly it doesn't damage the paint of the boat when it's laying around in the cockpit.

jostick with two pieces of pvc-pipe and a coupler made of  reinforces hose
End result below. I will first test the tiller and see if it works in real life, if the joysticks are mounted at the right spot etc.
If it works I may put a remote control of the outboard on the tiller, by putting a motorcycle throttle and a shift-stick at the end of the tiller. Not sure yet if I will do it, as it will add complexity BUT on the other hand it will be so much easier to steer in tight situations on motor. Maybe to be continued....


Next post: fitting cheapy death sounder

donderdag 23 april 2015

Bending the jib traveler


After a long pause it is time to update my blog a bit. Unfortunately I lost some photos of last years, but luckily there are enough left to show most of the progress & projects.

I put a self-tacking jib on my boat (very nice for easy cruising, although not so efficient for going downwind as top of the jib twists too much because of the way the jib is sheeted) and originally I made a straight traveler. I thought this would work because with a straight traveler the jibsheet has maximum slack when going from one side to the other. I was wrong: with a bit wind the cars of the traveler would stop about 15 cm before the end of the traveler. So.... I had to put some radius in the traveler.

Bending

On internet there are some very nice examples of people making bending jigs for travelers, this one is my favourite. But sometimes it's better to do it the easy way.... I just guesstimated the required radius (taking into account some springback) and used a band-saw and a piece of timber to make a 'mold'.
Some heavy clamps and......


even more bending
.... it turned out my guess of the springback was too conservative, so I just used some extra pieces of wood at the end of the traveler to increase the radius of the bend some more.

End result:

And on the boat:


Succes! This slight bend of the traveler made a big difference: jibsheet travels without any problems from one end to the other, every time.

Next post will be about a new tiller (+ ideas about remote control outboard)

dinsdag 18 juni 2013

Some work on the rig: new shroud-anchors, halyard re-installed and furler

My side shrouds were anchored in the mast with 2 6mm dyneema loops (basically soft shackles) with stopper knots. After reading some reports of test of the breaking strength of soft shackles on this very nice site, I decided to redo the loops. Seems diamond knots have way bigger impact on breaking strength than we thought.

This time we used a new type dyneema (DM20), in europe it's used to make a new product called dynastay, a very stiff and compact 12 strand type dyneema line, with nearly no creep. Probably a bit like dyna dux, but I couldn't source dux in the Netherlands.
Breaking load is 5200 kg (!!!) for 6 mm rope, more than enough because breaking load of the shrouds should be 4200 kg as per plans.


Quality of pictures is not so good lately, I'll have to dig out my old camera as the phone camera is not really up to the task.

With the mast down I also had to reinsert a halyard. After a lot of failed attempts with the tool to guide electrical wire (sorry, don't know english word) my brother thought of possibly the best way to guide the line I have ever seen: just tape some of the sail battens of the mainsail together and stick them into the mast. Within a few minutes the halyard was set again.


To replace some longe stainless steel strips which were used to attach my furler-drum to the forestay-rack, we made a dyneema loop - partly covered with some flexible pvc hose. This loop can withstand enought torque to keep the furler pointing in the right direction. The loose ends were of course removed, tapered and stitched later on....


With the close up picture the wear on the finish of the boat realy shows. My plan is to repair/repaint all the visible exterior of the boat this winter.

Next posts will be on sails. I'm eagerly awaiting a new jib (self tacking, made by de vries-UK) and a new mainsail (made by Doyle in New Zealand).


woensdag 12 juni 2013

tinkering (2)

As with my earlier furlers, I started to machine a cheap aluminium pulley on my lathe. I've altered the lathe a bit to be able to turn bigger workpieces, so I could make a bigger size furling drum (this one is about 10 cm diameter). Later on I drilled a lot of holes in the drum. Not only to make it lighter, but also to give the line in the drum a bit more bite. This is done by drilling holes half way in the part of the drum where the v-belt runs (the biggest holes, as can be seen in some pictures below).


The drum 'sits' on the top of the upper part of the swivel on a small edge. Better to show it, else nobody will understand.....

I wasted a lot of time trying to figure out the best way to feed the furling line to the drum and to retain the furling line. Tried to use dyneemaa rope, shockcord, aluminium rod, etc. to retain the line round the drum and a bored block of HMPE (UHWM) - just cutting board - to feed the line. In the end it turned out nothing worked nearly as good as my earlier solution: using a small stainless eye to feed the line in and out, and a retaining drum machined out of HMPE.
First prototype laid out with the three componenents:


I personally like this new design because the part which takes the big loads (the swivel) is totally independent from the parts of the furler that only need to do some low-load furling action. Even if the furling-parts fail, nothing bad will happen.
For a comparison: a picure of one of my earlier furler attempts and my new attempt. I believe the new one has the better looks.


And finally a small clip. Grip on the line is excellent when pulling, and even after pulling the line hard into the drum it releases with ease when the drum is spun on its own.
That's it for now. Next thing to do is to make a nice link to attach the furler to the rack in the bow of my boat. Till now I've used some stainless steel strips to link the furler to the rack, but my plan is to replace this by a sort of loop made of anti torsion rope. To be continued...