dinsdag 18 juni 2013

Some work on the rig: new shroud-anchors, halyard re-installed and furler

My side shrouds were anchored in the mast with 2 6mm dyneema loops (basically soft shackles) with stopper knots. After reading some reports of test of the breaking strength of soft shackles on this very nice site, I decided to redo the loops. Seems diamond knots have way bigger impact on breaking strength than we thought.

This time we used a new type dyneema (DM20), in europe it's used to make a new product called dynastay, a very stiff and compact 12 strand type dyneema line, with nearly no creep. Probably a bit like dyna dux, but I couldn't source dux in the Netherlands.
Breaking load is 5200 kg (!!!) for 6 mm rope, more than enough because breaking load of the shrouds should be 4200 kg as per plans.


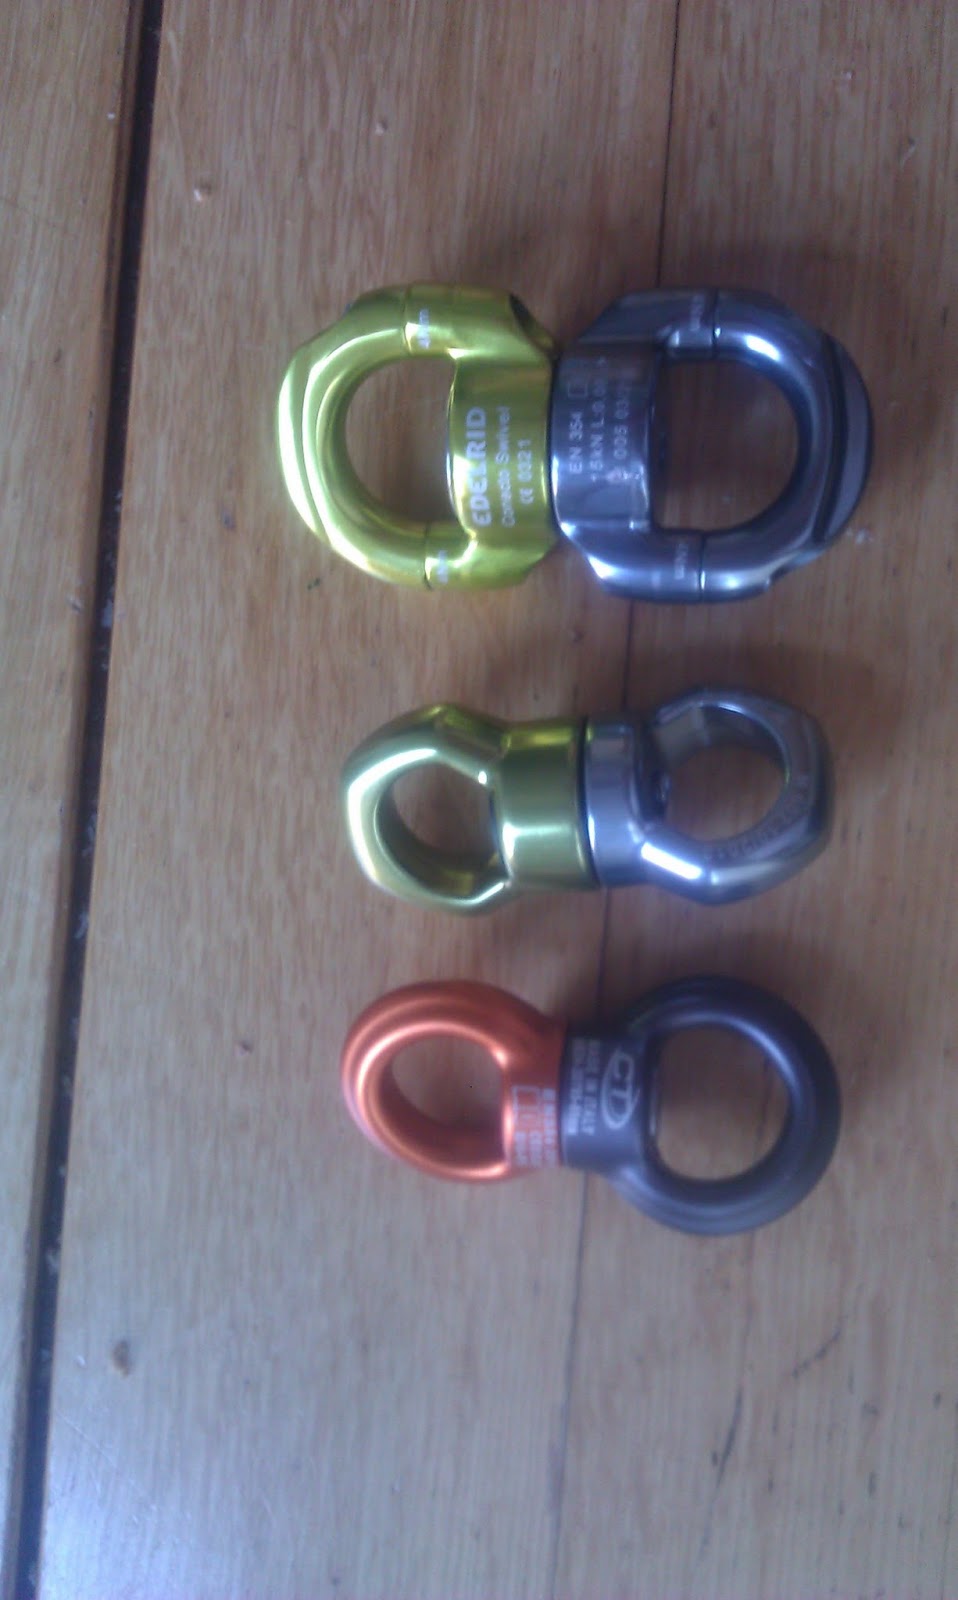
Quality of pictures is not so good lately, I'll have to dig out my old camera as the phone camera is not really up to the task.

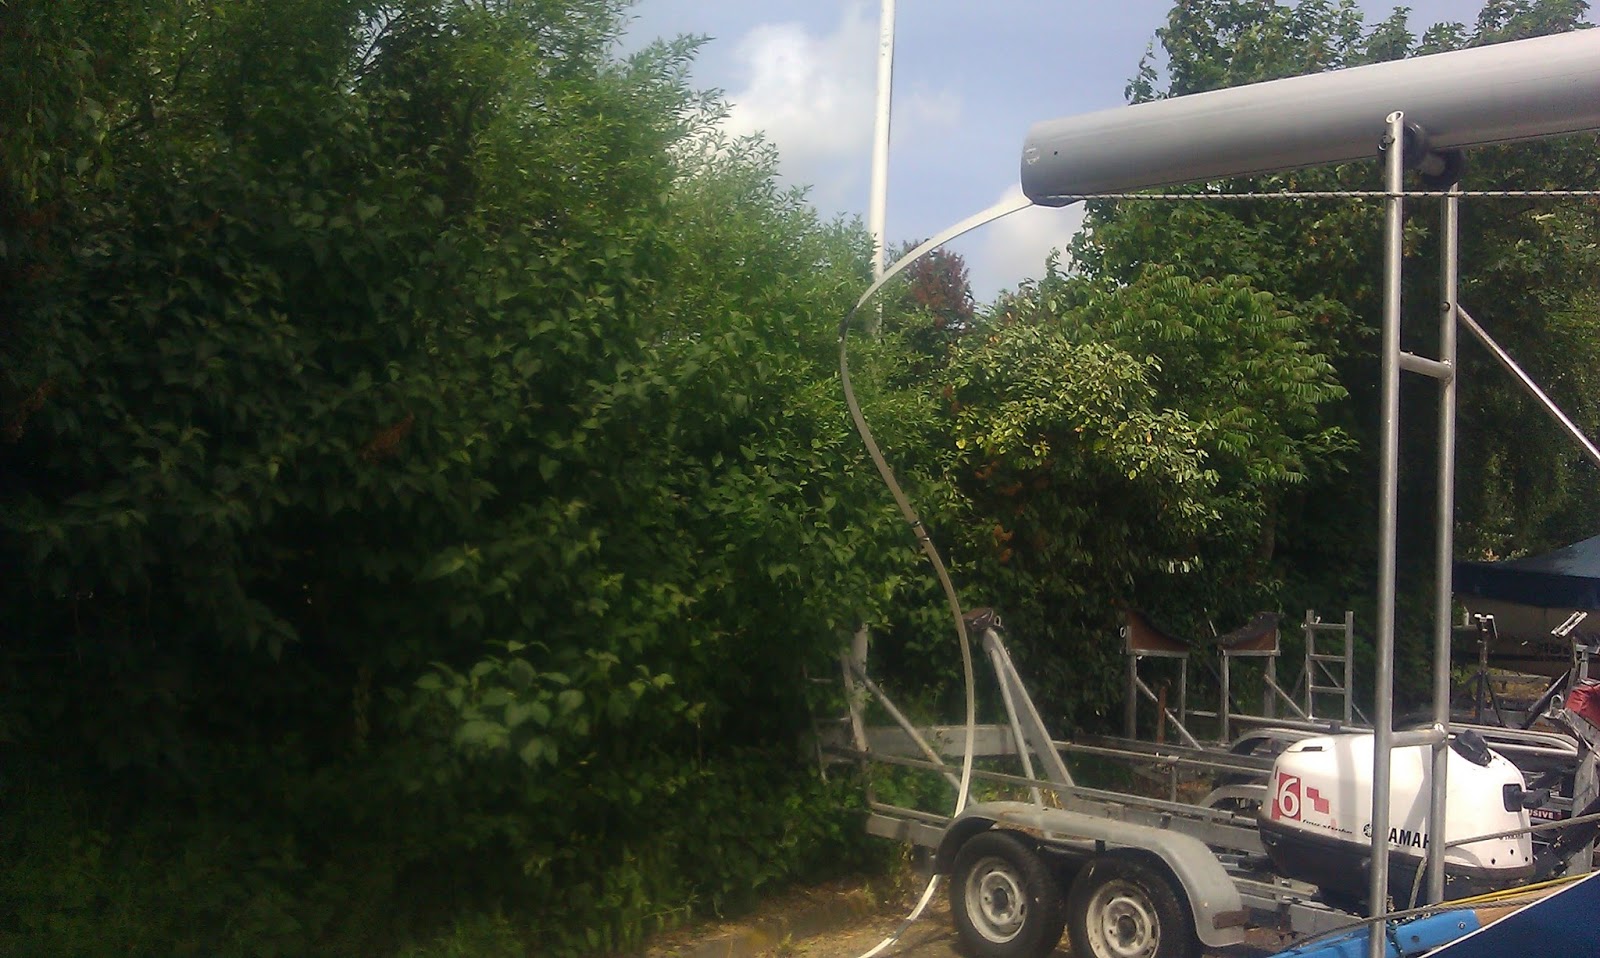
With the mast down I also had to reinsert a halyard. After a lot of failed attempts with the tool to guide electrical wire (sorry, don't know english word) my brother thought of possibly the best way to guide the line I have ever seen: just tape some of the sail battens of the mainsail together and stick them into the mast. Within a few minutes the halyard was set again.


To replace some longe stainless steel strips which were used to attach my furler-drum to the forestay-rack, we made a dyneema loop - partly covered with some flexible pvc hose. This loop can withstand enought torque to keep the furler pointing in the right direction. The loose ends were of course removed, tapered and stitched later on....


With the close up picture the wear on the finish of the boat realy shows. My plan is to repair/repaint all the visible exterior of the boat this winter.

Next posts will be on sails. I'm eagerly awaiting a new jib (self tacking, made by de vries-UK) and a new mainsail (made by Doyle in New Zealand).


woensdag 12 juni 2013

tinkering (2)

As with my earlier furlers, I started to machine a cheap aluminium pulley on my lathe. I've altered the lathe a bit to be able to turn bigger workpieces, so I could make a bigger size furling drum (this one is about 10 cm diameter). Later on I drilled a lot of holes in the drum. Not only to make it lighter, but also to give the line in the drum a bit more bite. This is done by drilling holes half way in the part of the drum where the v-belt runs (the biggest holes, as can be seen in some pictures below).


The drum 'sits' on the top of the upper part of the swivel on a small edge. Better to show it, else nobody will understand.....

I wasted a lot of time trying to figure out the best way to feed the furling line to the drum and to retain the furling line. Tried to use dyneemaa rope, shockcord, aluminium rod, etc. to retain the line round the drum and a bored block of HMPE (UHWM) - just cutting board - to feed the line. In the end it turned out nothing worked nearly as good as my earlier solution: using a small stainless eye to feed the line in and out, and a retaining drum machined out of HMPE.
First prototype laid out with the three componenents:


I personally like this new design because the part which takes the big loads (the swivel) is totally independent from the parts of the furler that only need to do some low-load furling action. Even if the furling-parts fail, nothing bad will happen.
For a comparison: a picure of one of my earlier furler attempts and my new attempt. I believe the new one has the better looks.


And finally a small clip. Grip on the line is excellent when pulling, and even after pulling the line hard into the drum it releases with ease when the drum is spun on its own.
That's it for now. Next thing to do is to make a nice link to attach the furler to the rack in the bow of my boat. Till now I've used some stainless steel strips to link the furler to the rack, but my plan is to replace this by a sort of loop made of anti torsion rope. To be continued...

maandag 10 juni 2013

Tinkering - new diy furler

With all the terrible weather in northern europe this season (no sign of global warming here lately...) and hence hardly any sailing till now, I have time to spare to do some tinkering.

When my brother mentioned my diy 20 dollar furler has a distinctive 'Des Jour Meilleurs' look, I just knew I had to make myself a little more expensive looking furler. Actually this is not true, I really admire the way that vessel is built (check out the 'retailed (what???) description' on the site), I was just craving to start a small project to keep me busy.

Anyway, as always when building I try to avoid 'marine' materials, as they tend to be way overpriced just because they are marketed for marine = $$$. Found myself some climbing/arboring swivels, clearly well made out of proper grade anodized aluminium, a big 316 stainless steel rod and sealed axial bearings. Rated breaking load is about 2.500 kg, and being climbing equipment I guess this is a very conservative rating. All swivels are priced in or a little above the 50 dollar range. Although it is probably possible to make a swivel for less money, the ease of just buying, the looks and the certainty the swivel is working within rated strength is in my opinion well worth the price.


The small ones are very light and will be my top swivels, the big one will be the backbone of my new diy endless line furler. Although the big one is made in germany, it's colourful and cheery.

More to come.....


dinsdag 21 mei 2013

Finally building something again - selftacking jib

A self-tacking jib has been on my wishlist for a long time.
I'll rig it with a simple straight, one meter wide, track (lewmar size 0).

Step one: a mold for two jibtrack steps. I used the 1:1 plansheets to figure out some angles for the base of the steps.


Step 2: laminating some leftover carbon unidirectional + biax. I almost forgot how easy it is to make your own parts with a bit of epoxy, glass, packing tape and a simple mold.


Step 3: cleaning up after curing. For cutting glass (with both jigsaw and 'multimaster' tool) I always use blades with an abrasive edge which are sold for cutting tiles. Works perfectly and the blades last forever.

 
Looking the part....


End result: track just in front of mast. The track is stiff and strong enough to be supported by the two ends only. All loads will only be on both ends anyway (jibsheet will always be end left or end right).
I ordered two ball bearing-cars and some ball bearing bloks to get a smooth ride of the jib, they're due in about two weeks.


My 20 dollar-diy continuous line furler is still working without any flaws. I'd like to get the furler a bit lower. That will probably mean I will have to build (or buy...$$$$$$$) another one with a tang which fits the slotted rack on the bullnose of the boat.